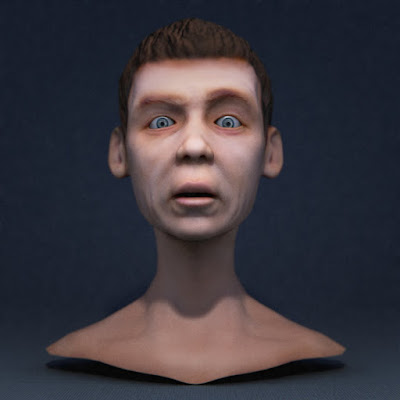
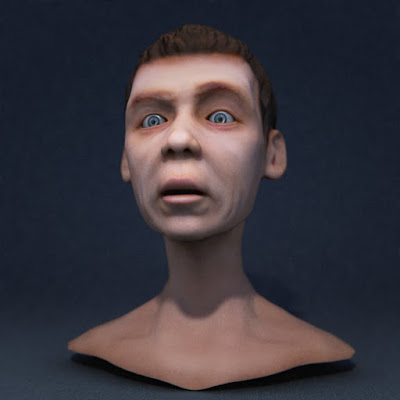
lost detail


painted some textures for yesterday's head...I kinda like it, but I haven't been able to bake any working displacement map, and lost most of the detail from the sculpt...perhaps I'm doing something wrong, I'll have to look into it.

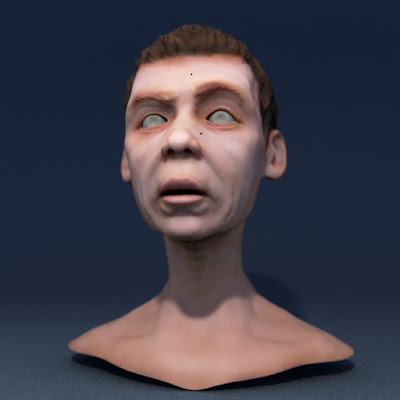
For comparison, and once the three layers SSS shader was done, I've appended it to the file with the multires sculpture, and rendered it...it's not that different, but I miss a few things in the low poly version...besides, this rendered in 30:51 minutes, which isn't very nice, and a couple of black dots appeared out of nowhere...

lots to learn..so little time...
Comments

  1. Looking awesome...
    I think some of the detail of the sculpt is now less visible due to the colors too..whereas the gray shading sort of made a much more visible distinction with shadow on the highpoly sculpt.
    How did u achieve that nice depth of field effect, looks great on the ground plane fabric!
    Did u do that in gimp or use blenders dof setup?:)
    Best regards!

    ReplyDelete
  2. Hi Nixon, and thanks :)

    Yeah, the SSS shader does kill some of the detail. That doesn't bug me that much because it should be expected too. But, not being able to get a working displacement map is more frustrating, the lack of it is really visible in the silhouette of the head, or the bigger wrinkles and deformation in the cheeks and around the face.

    Dof is done with blender's Defocus node. I posted a file at blenderartists with the setup, you can get it here:http://blenderartists.org/forum/showthread.php?t=177075

    Cheers.

    ReplyDelete

Post a Comment

Popular posts from this blog

Open Sourcing

Some days ago, I caught myself ranting while doing a test recording for a tutorial. I've been asked several times to produce a sculpting tutorial, but, since I'm still learning and still trying to figure out a lot of things, always ended up with the feeling that everything I could say has already been said. So, the only point for it would be to talk about the Blender specific topics. But there aren't many things about my work flow that are Blender only. I think I covered all the needed settings and the brushes I use lately with the Onion branch in the following pdf. Click the image to download the file. So, my rant was about how there is all this free knowledge online about sculpting, but, a lot of Blender users seem to neglect it because they only look for Blender tutorials. And that gave me the idea. Publish a list of all the videos and tutorials I've been gathering, and let everyone compile their own build of 'Sculpting with Blender'. Even thoug

sculpt_startup.blend

Everything should happen in the 3D View Following what I said in my UI proposal some time ago, and with Dyntopo having its options in the Tool Shelf, I've made some adjustments to my default Sculpt layout. Only the 3D View with an open Tool Shelf is needed to start sculpting now, removing even more unnecessary choices and making access to Sculpt Mode in Blender easier. Ctrl+UpArrow shows the full layout which contains the 3D View, an Outliner set to 'visible layers', and the Properties window. With this layout you can sculpt various objects without having to leave Sculpt Mode, selecting them from the Outliner. Here's a demo video of a few objects sculpted with Dyntopo and the current layout: We could switch a few more things to the 3D View to make the two extra windows redundant. Matcap or Material assignment. In past GSOC projects, a Matcap selector was coded and added to the Properties panel of the 3D View. While I liked it, and

Noise

Cave painting. Shaman Barcelona chair Credits for the chair scene: http://www.blendswap.com/blends/author/marcin_hrn/ http://www.blendswap.com/blends/author/pcraven/ http://www.blendswap.com/blends/author/lsmft/ http://www.blendswap.com/blends/author/jclevet-net/ http://www.blendswap.com/blends/author/nikitron/ http://www.blendswap.com/blends/author/metalix/