I haven't posted in a while and the reason is that I've spent last few weeks working in an animatic with a friend.
While he was doing tons of chroma keying and cleaning the crap out of them, I've spent my time creating backgrounds and playing with cool stuff I've never tried before, like the fractureme script and actually animating lots of objects, including a couple of hands. Sadly, I had no time for anything else.
I can't upload the video yet, but, meanwhile, if anyone'sinterested bored enough, there's a 10 second preview I've uploaded to youtube and vimeo before starting the actual production of the animatic.
So, with that off my back, I've spent last few days lazying around and socializing, and finally I've come back to this blog entry I'd started about a month ago.
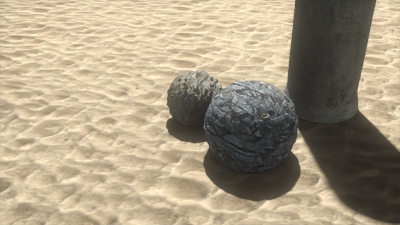
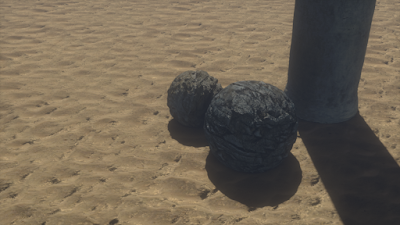
These two images are from a lighting test I'd set up to confirm some linear workflow concerns I've had. The first one is lit with one area light and the second one uses a sun lamp with sky and environment. If anyone's interested, the blend file is available here.
The real motivation behind finishing this entry, actually, is this:
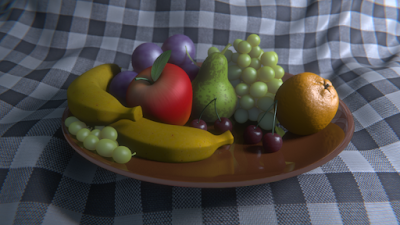
If you haven't recognized it yet, this is the scene from the first cgsociety's lighting challenge modeled by Dan Wade.
I had the file in my hard drive for a few months already, and yesterday I've decided to start messing with it. I'm not done with it yet,and lots of changes need to be made, but this is as good as I can get for a start.
The orange, plums, cherries and grapes are procedurally textured, even though I can't seem to notice the effect of it on the grapes :( . The rest of the elements are image based textured.
I'll try to find some time this weekend to further work on this scene.
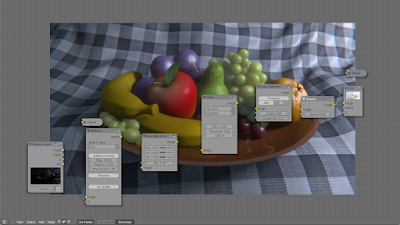
Also, here's a screenshot of the node setup I usually have in most of my scenes.
Hope you liked this, any suggestions will be welcome.
While he was doing tons of chroma keying and cleaning the crap out of them, I've spent my time creating backgrounds and playing with cool stuff I've never tried before, like the fractureme script and actually animating lots of objects, including a couple of hands. Sadly, I had no time for anything else.
I can't upload the video yet, but, meanwhile, if anyone's
So, with that off my back, I've spent last few days lazying around and socializing, and finally I've come back to this blog entry I'd started about a month ago.


These two images are from a lighting test I'd set up to confirm some linear workflow concerns I've had. The first one is lit with one area light and the second one uses a sun lamp with sky and environment. If anyone's interested, the blend file is available here.
The real motivation behind finishing this entry, actually, is this:

If you haven't recognized it yet, this is the scene from the first cgsociety's lighting challenge modeled by Dan Wade.
I had the file in my hard drive for a few months already, and yesterday I've decided to start messing with it. I'm not done with it yet,and lots of changes need to be made, but this is as good as I can get for a start.
The orange, plums, cherries and grapes are procedurally textured, even though I can't seem to notice the effect of it on the grapes :( . The rest of the elements are image based textured.
I'll try to find some time this weekend to further work on this scene.
Also, here's a screenshot of the node setup I usually have in most of my scenes.

Hope you liked this, any suggestions will be welcome.
Comments
Post a Comment